1973 Renault 17
Date: September 2014
This car was built for a contest on Eurobricks.
The rule was to make a vehicle in the style of the Model Team series, within a limit of 46x16 studs.
Since some time I wanted to make a Lego version of a Renault 17, this was a good opportunity to do it.
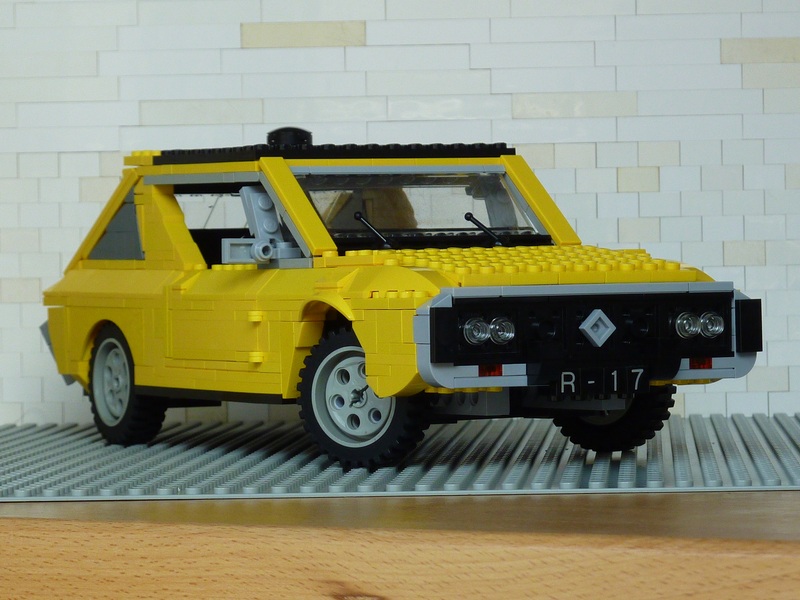
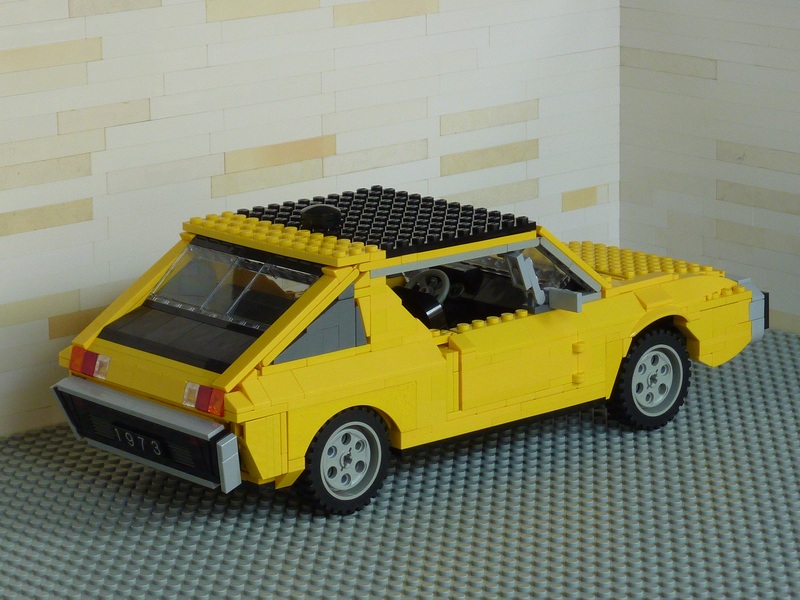
For those who do not know/remember what a Renault 17 looks like, here is the version I use as reference: front - rear (1973-1975 model).
Made between 1971 and 1979, as Renault 15 and 17. The Renault 17 was also exported to USA.
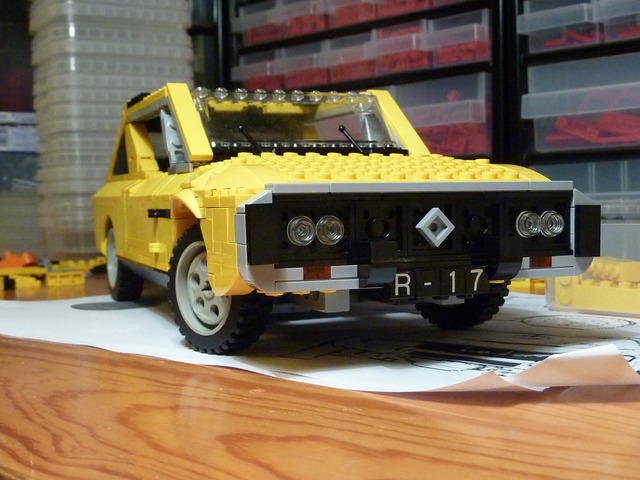
The logo was moved from hood to the grille in 1973.
The face-lifted version of 1976 had a different front and rear.
They were replaced by the Renault Fuego in 1979.
More info on Wikipedia
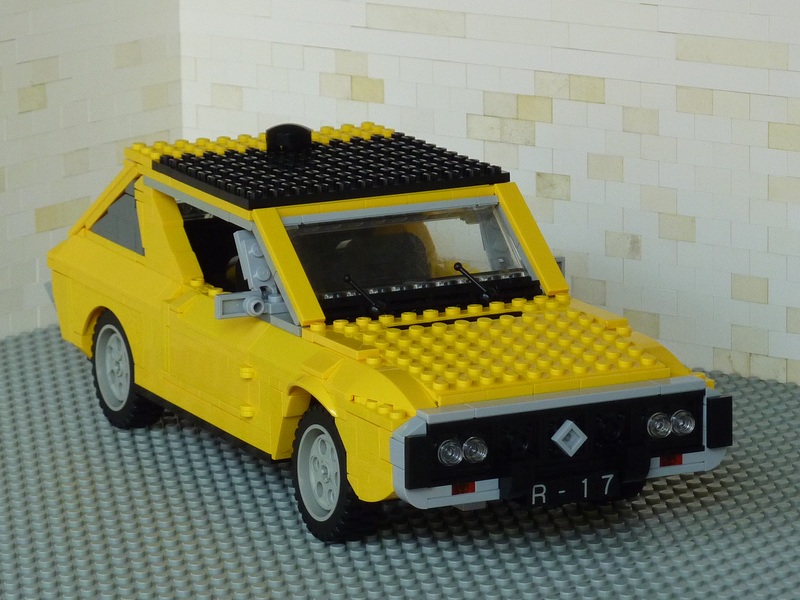
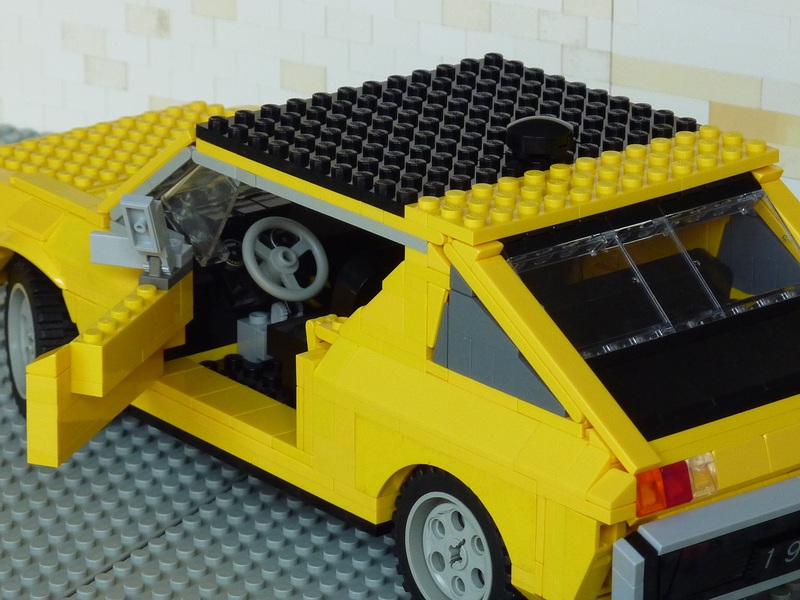
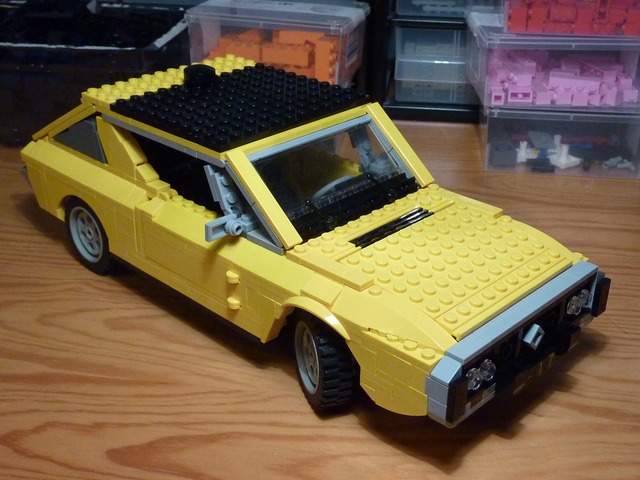
Dimensions are roughly 38x14 studs:
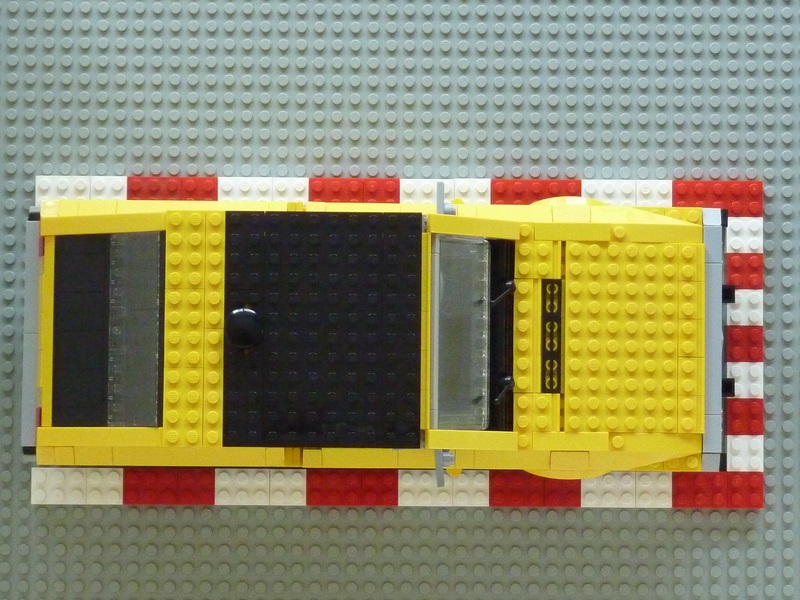
Features turning wheels (via the knob on the roof) and opening doors. The hatch can open but it requires to remove the 1x8 tiles on the side, so it does not really counts.

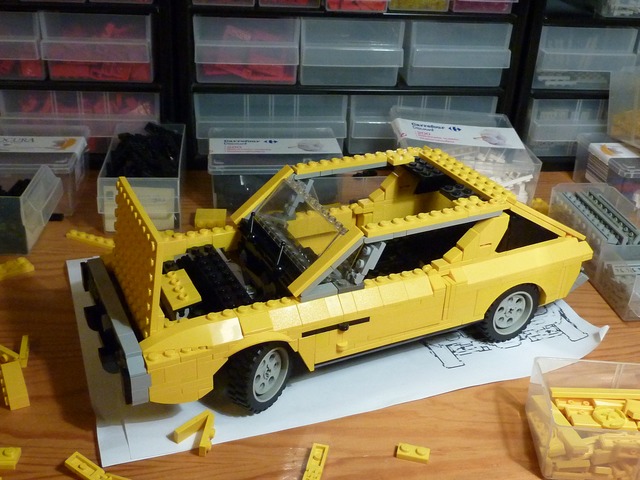
Here are some "work-in-progress" photos with the associated texts posted back then on Eurobricks...
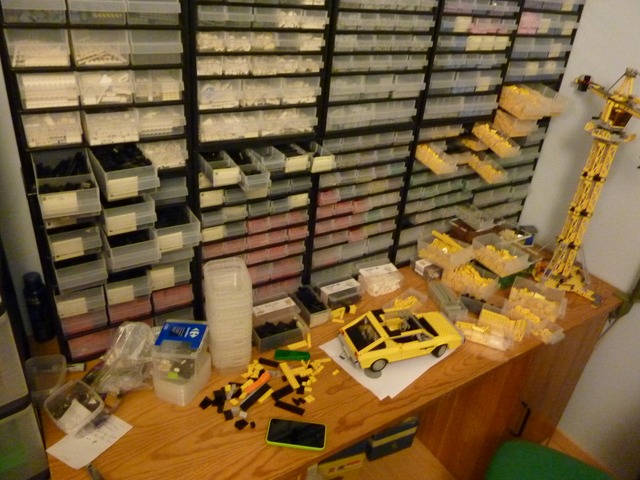
I build directly with bricks (no LDD) because I try to use the parts I already have (which adds a challenge).
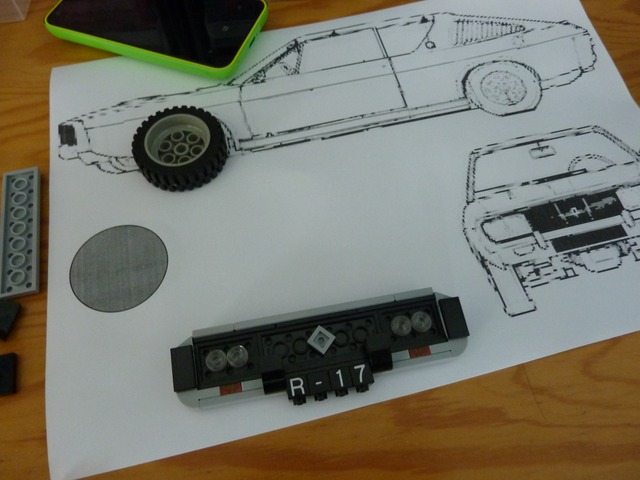
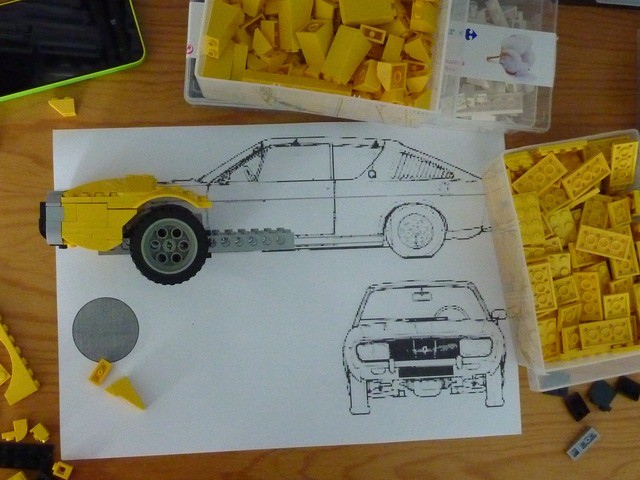
For the scale reference, I used the Model Team wheel.
I printed a blueprint of the car (the only picture I found...) scaled for a 42mm wheel, that makes things much easier.
The downside of using such wheels/scale is that the 1x1 round plate is too small for headlights, and the 2x2 too big. I originally planned to do that at a slightly larger scale, but that will be for another time.
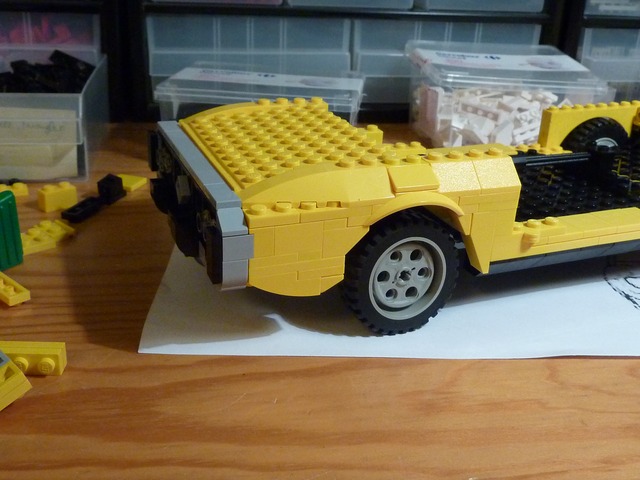
The front has studs in four directions (top/bottom/front/back)
Starting fenders, and I've put turning wheels to make it more Model Team...
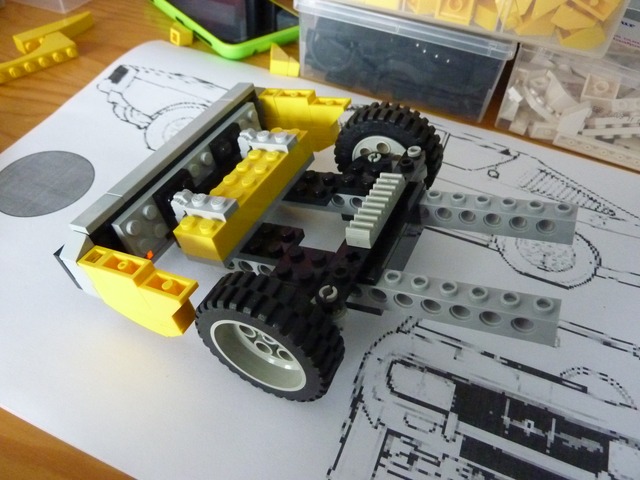
... even if that already causes a slight scale problem.
So the front will be 1-stud too long compared to the blueprint.
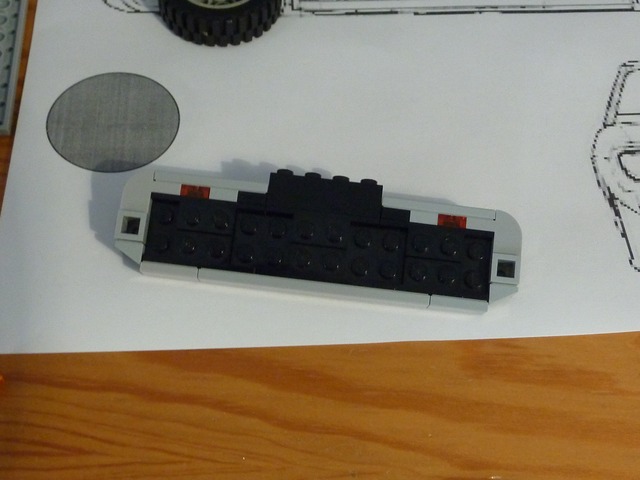
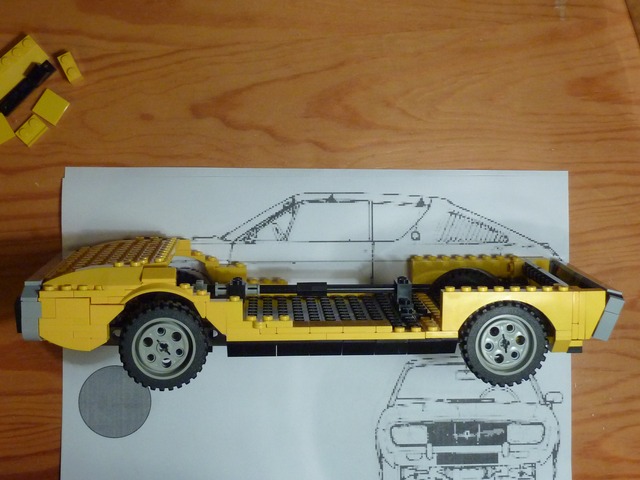
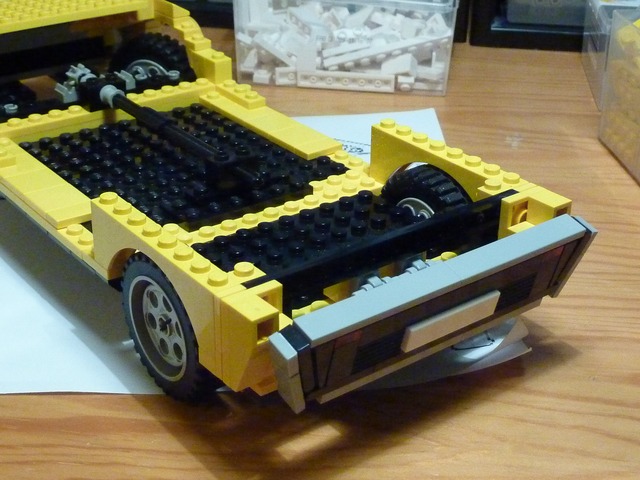
Next step, finishing the chassis and making the rear bumper:
Adding the "Wedge Belt Wheel" as wheel cover gives a wheel style closer to the real one.

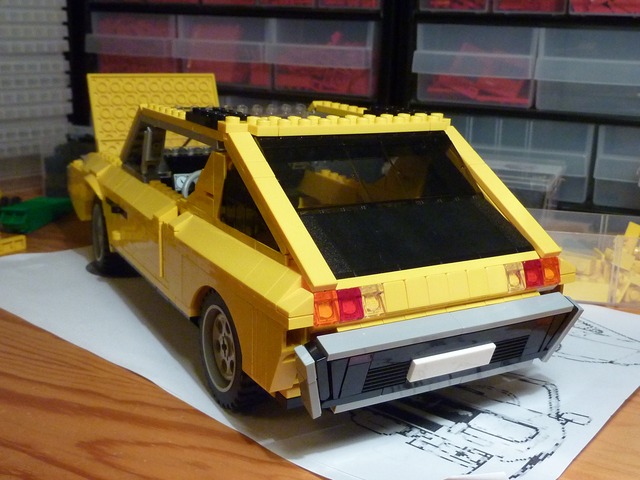
The shape of the rear bumper isn't bad, but the junction with the rear fender isn't easy as I couldn't find a way to make that better than with an inverted slope:
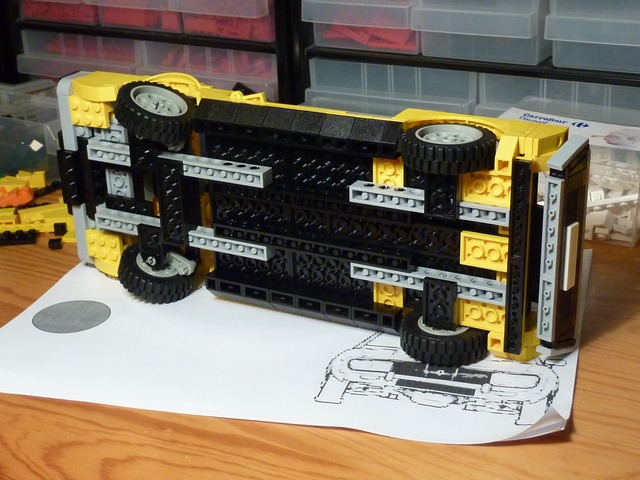
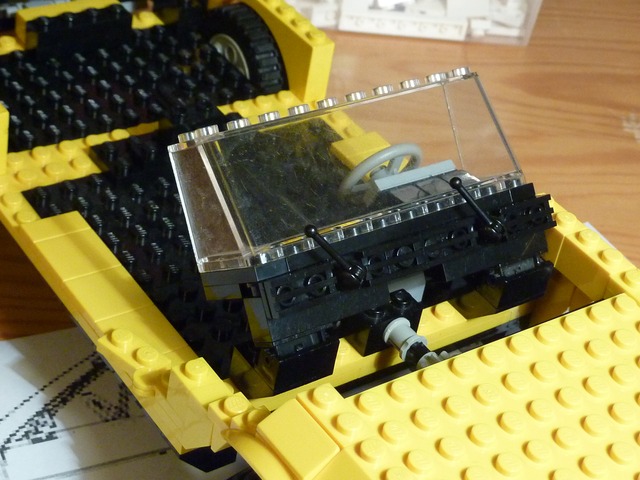
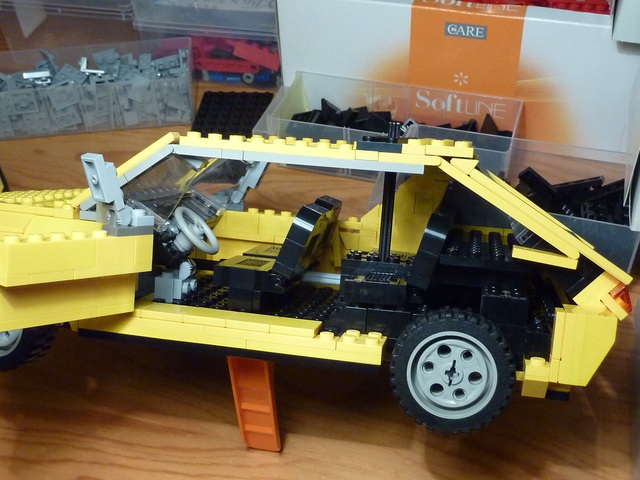
The only few Technic parts are in the chassis, quite common for Model Team:
As you may notice on the first pics, I had a space problem between the upside-down part of the front fender and the upper part.
The reason is that there is a half-plate offset between that fender and the chassis: the fender is attached to the front, and the use of hinges for that wasn't a good idea after all.
So I decided to attach the front differently:

And no more annoying half-plate difference:
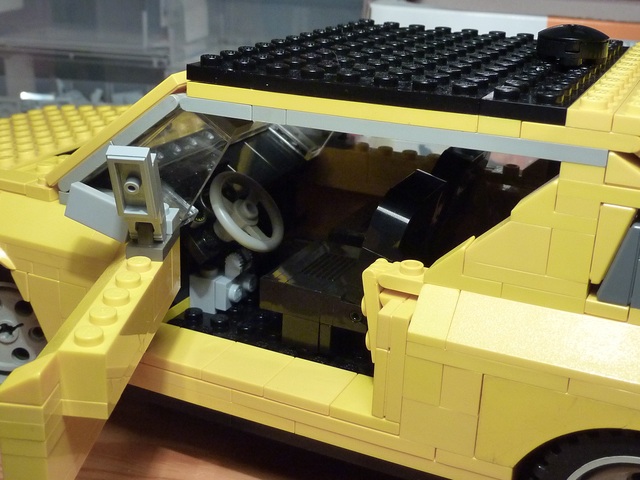
Attaching the windscreen:
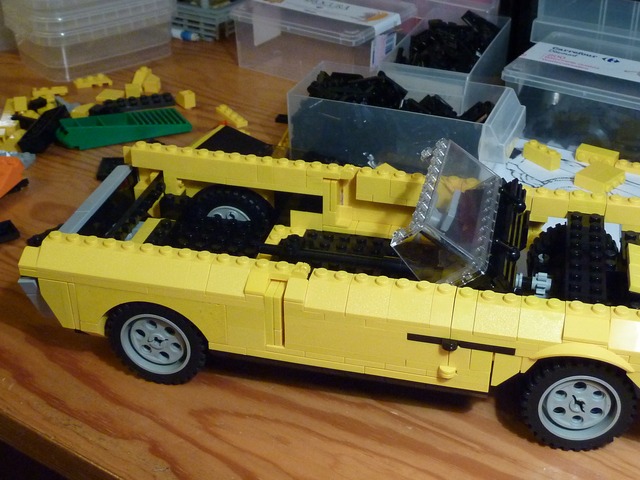
Finishing the door and the sides:
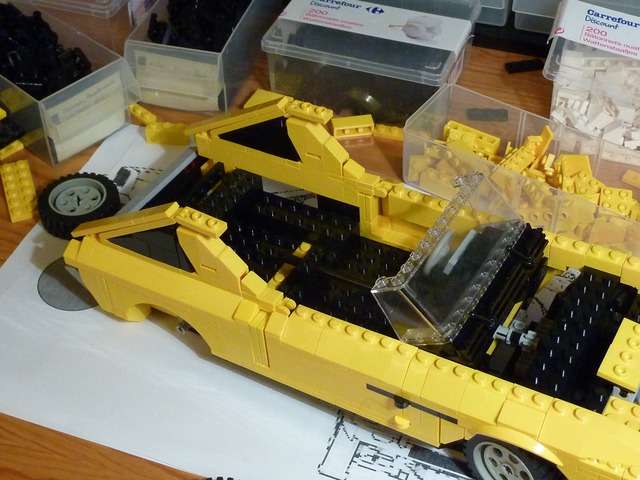
Building C-pillars:
I didn't find a way to properly make something looking like grilles like the real one, plain black is good enough (to be replaced by dark grey later).
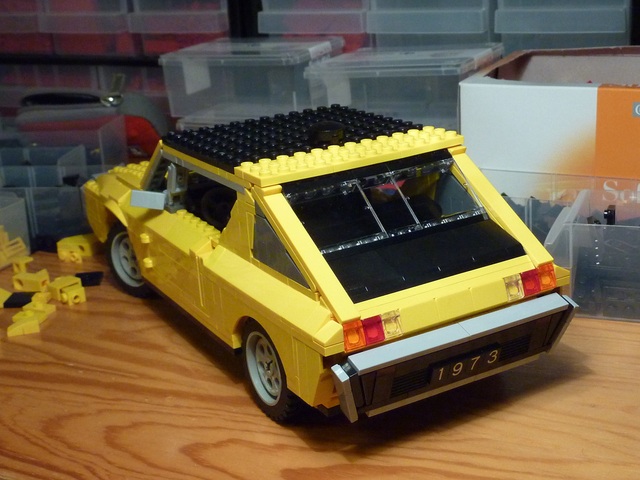
Building the roof and attaching the hatch:
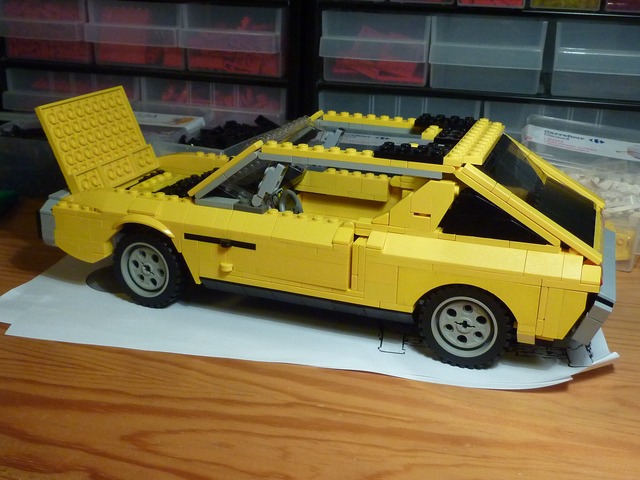
For doing things like that, I'm happy that my parts are sorted first by color, as noticeable here yellow and black are the most used:
After a Bricklink order with shorter black slopes for the rear, I also replaced the trans-black window by trans-clear, and replaced the black hinges of the door by yellow ones, taken from another set :
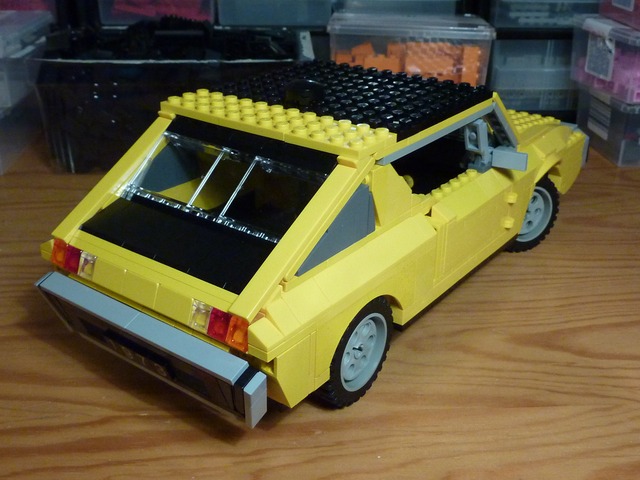
I also replaced the brick-built black triangle of the C-pillar by a dark-grey one (which is, on the real car, a silver grille in front of a window).
Adding the seats:
which look like this on the real car: photo
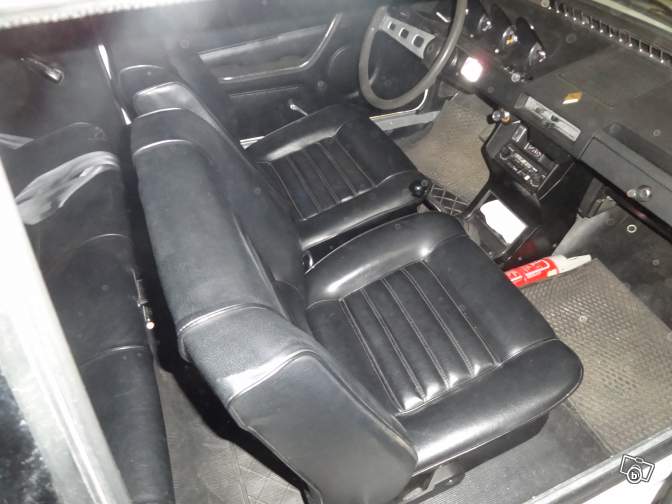
and modified a little the parts around the door opening:
I also modified slightly the hatch again, and re-did the angles of the C-pillar. At some point I wasn't sure if I was improving it or making it worse... but I think it is better now:
All these photos and comments were originally posted on the thread I made on Eurobricks for the contest.
© 2020-2025 Antoine Potten — Contact me
LEGO® is a trademark of The LEGO Company which is in no way linked, managing, owning nor sponsoring this website.